Setup Intelligent User Manager (IUM) in Bitbucket
The checklist provided here is intended to help you with the configuration and functional testing of IUM.
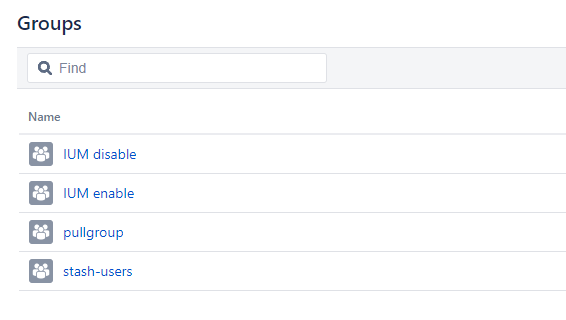
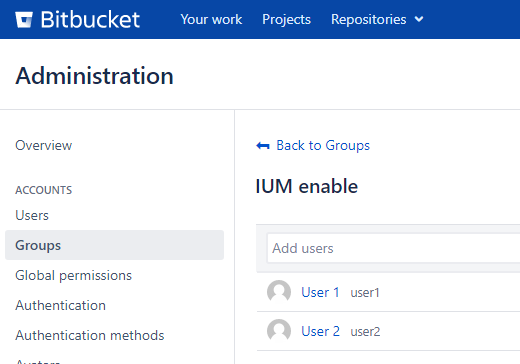
In the first step, two new groups (IUM enable and IUM disable) are created under "Administration" - "Accounts" - "Groups".
(alternatively, other names can also be used)
In addition, the group “pullgroup” must be created (the name must not be changed). This group is only for internal processing by IUM; no users may be added here.
Under "Administration" - "Accounts" - "Global permissions", access for the IUM enable group and pullgroup is added.

User Directories
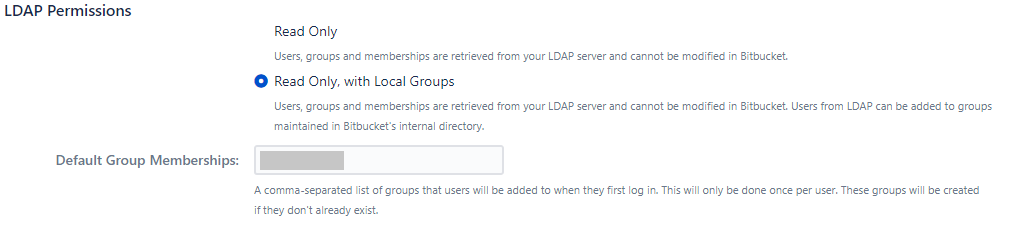
If the "Bitbucket Internal Directory" is not used, the LDAP permissions ("Administration" - "Accounts" - "User Directories" - "Edit") must be changed to "Read Only, with Local Groups".
(Because the write protection of the crowd permissions cannot be removed, IUM does not work in combination with Atlassian Crowd directory in Bitbucket.)
The actual configuration is then carried out under "Administration" - "Add-Ons" - "IUM Configuration".
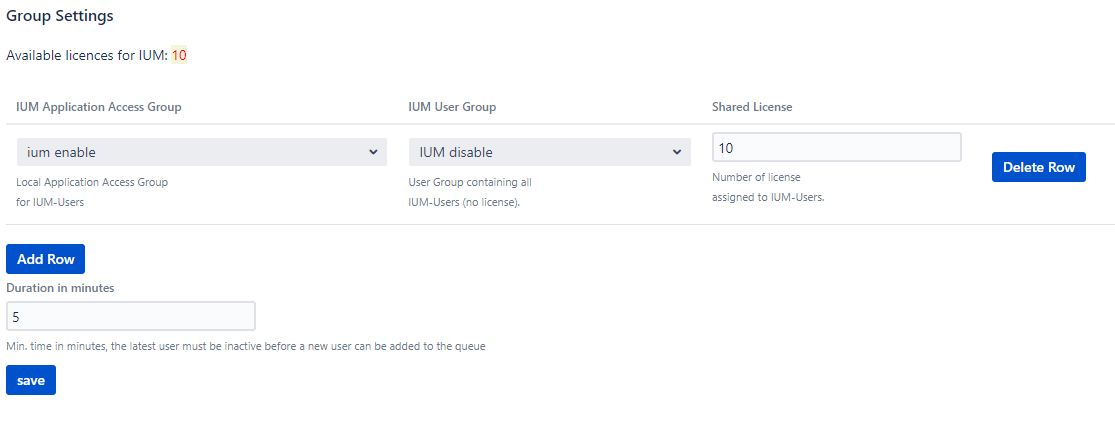
- Group Settings
- IUM enable is selected under "Enabled Group" and IUM disable under "Disabled Group".
(or the corresponding self-assigned names - Shared Licences" indicates the number of licences to be managed by IUM.
- under "Available licences for IUM" you can see the number of licences that are still available for IUM
- licence tier - permanent user (- shared licences IUM) = available licences for IUM
(for unlimited licence tiers, a value of 50,000 (licence tier) is set for IUM)
- licence tier - permanent user (- shared licences IUM) = available licences for IUM
- under "Available licences for IUM" you can see the number of licences that are still available for IUM
- Under "Duration in minutes", the minimum inactivity time in minutes is specified before the licence is released again.
- IUM enable is selected under "Enabled Group" and IUM disable under "Disabled Group".
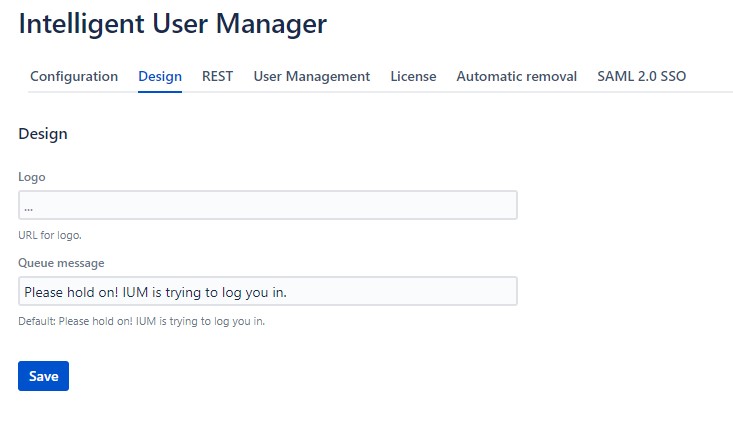
- Design
- Logo:
A URL to the company logo can be stored here for display during the waiting time. - Queue message:
Here you can define your own message for the queue display.
- Logo:
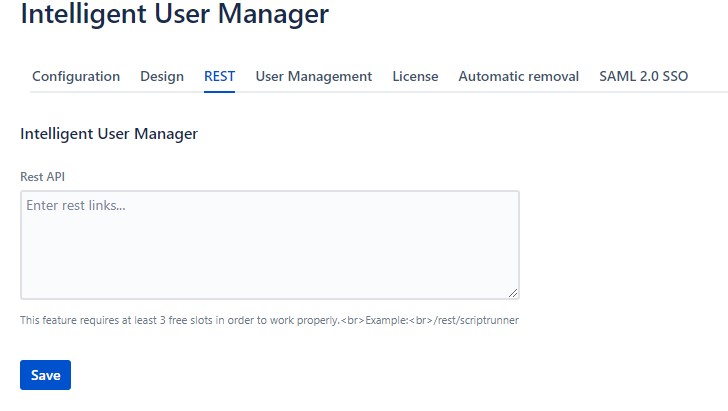
- Rest
- The entry /rest/api is already stored internally by default and do not need to be added to the rest-api configuration field. In case you add it, it will be hidden
- additional api's can be entered here (e.g. /rest/scriptrunner)
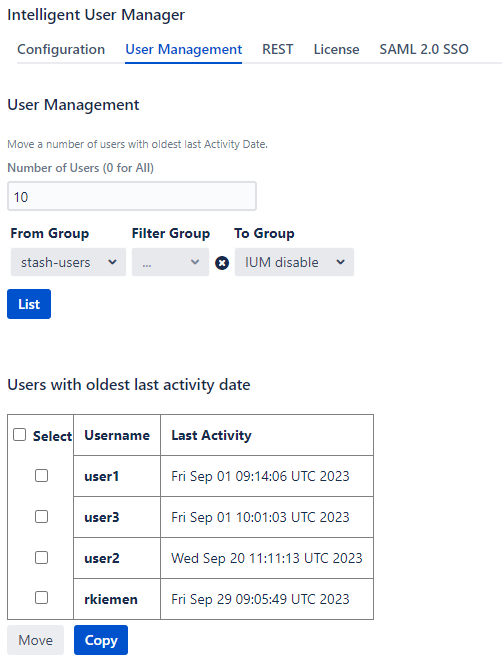
- User Management
- This is where the actual moving of users to the group managed by IUM takes place.
- The group in which the current users are located is selected under "From Group".
- Under "To Group" the IUM disable group is selected.
- After clicking on "List", a list of users from this group is displayed.
- The users displayed are sorted in descending order according to their last activity.
(so the occasional users can be sorted out little by little) - The number of users displayed can be set under "Number of Users".
- The users displayed are sorted in descending order according to their last activity.
- Now the users to be managed by IUM are selected via the selection field.
(no power users should be selected here, but the occasional users should be gradually sorted out) - With the "Move" button, the selected users are subsequently moved.
- The "Copy" button is only used if the IUM disable group is composed of individual permission groups and does not have its own Application Access.
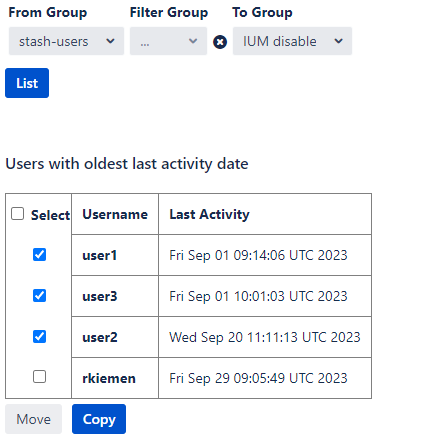
- Moving users cannot be undone.
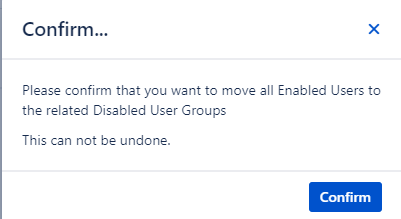
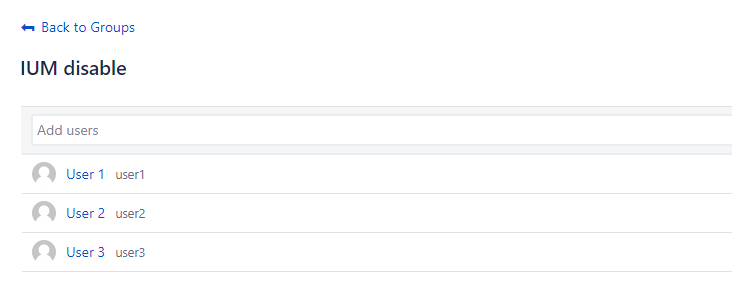
- After confirming the process, you can see in the user management under Groups in Bitbucket that the selected users have been moved to the IUM disable group.
have been moved. (The unselected power users remain in their old group) - please check: It is important to ensure that there are no users with a permanent license (e.g. from another group) in the IUM groups (enable/disable).
- Automatic removal
Activates the automatic removal of users from the IUM access groups if the last activity is greater than the duration entered in the group settings.
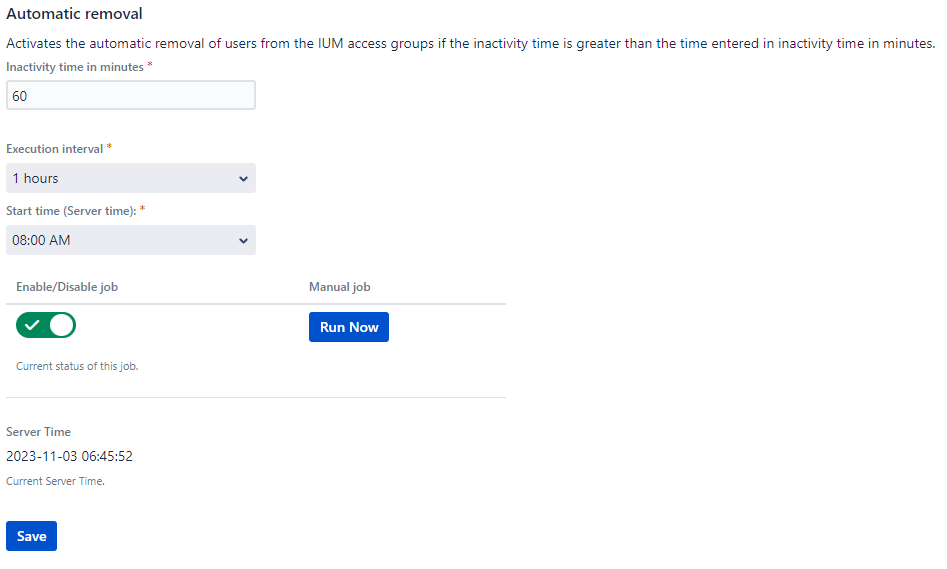
- Inactivity time in minutes
Here you can define the inactivity time a user must be inactive to be removed from the access group. - Execution intervall
Execution times 1h, 2h, 3h up to 24h
Start time
The start time of the automatic removal can be set here (the time refers to the server time)- Enable/Disable job
- next running time (the time refers to the server time)
- Server Time (Current Server Time)
Manual job
Click run job to purge the IUM access groups once (if the last activity is greater than the duration entered in the group settings, the user is removed from the access group).
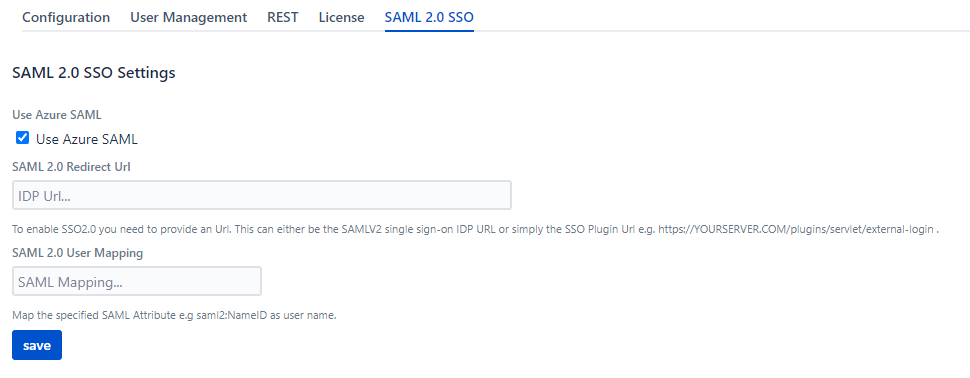
- SAML
- IUM supports single sign-on services such as ADFS, Azure, Google or Okta. (How to setup)
- IUM supports single sign-on services such as ADFS, Azure, Google or Okta. (How to setup)
Control
- Two users now log in. (user1 , user2)
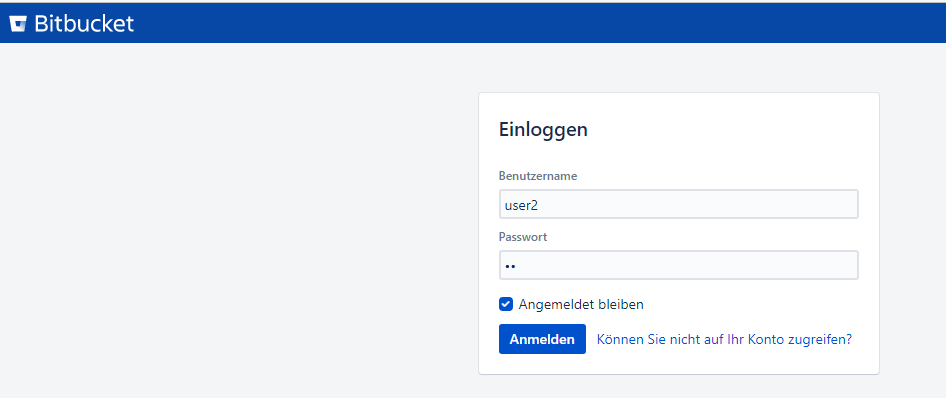
- Now you can see under "Goups" that the two users have also been copied into the IUM enable group and have thus been
have also been assigned a licence. - After a user logs off, he or she is automatically removed from the IUM enable group and the licence used is free again.
- If a user simply closes the browser (without logging out), he or she remains in the IUM enable group until the licence occupied by him or her is needed.
Only at this point will they be removed from the IUM enable group.
- Since in this example only 2 licences were made available for administration by IUM for "Queue Size", the following display appears for the third user who wants to log in.
third user who wants to log in, the following display appears.
- After the waiting time has expired, the user with the longest inactivity time is moved to the IUM disable group, his or her used licence is released again and the waiting user is logged in.
used licence is released again and the waiting user is logged in. - If a logged-in user is inactive for longer than the time specified under "Duration in minutes", this user is moved to the
group IUM disable and his used licence is directly passed on to the new user.
(the queue would not be displayed in this case)