Story Points for Jira-Admin Guide
Background
The Accxia Story Point Field for Jira in fact is a wrapper, it does not store the story point data itself. This wrapper turns any existing Numeric Strory Point Field into a real Single Select Field.
The App does not change any of your existing Story Point values.
1st Steps
Download and Install the App
Download and install the App a normal directly from inside the “Jira-Manage Apps” page.
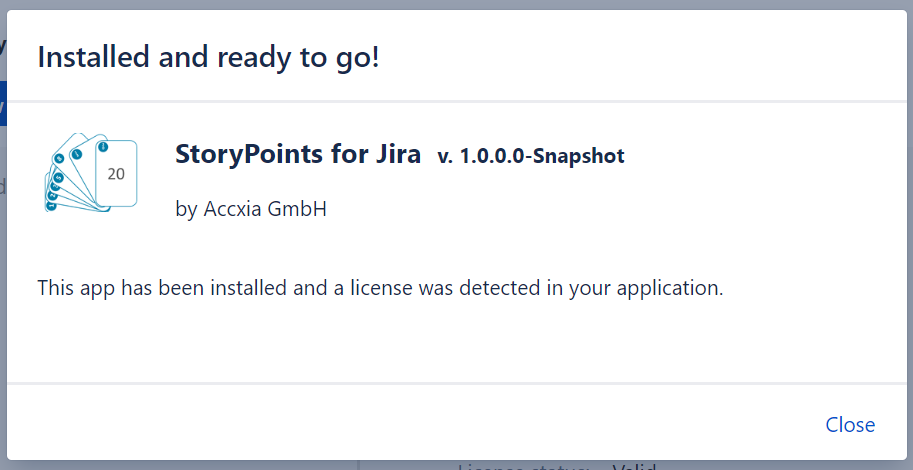
Get a license and click the configuration Button.
Configuration
Controlled Story Point Field
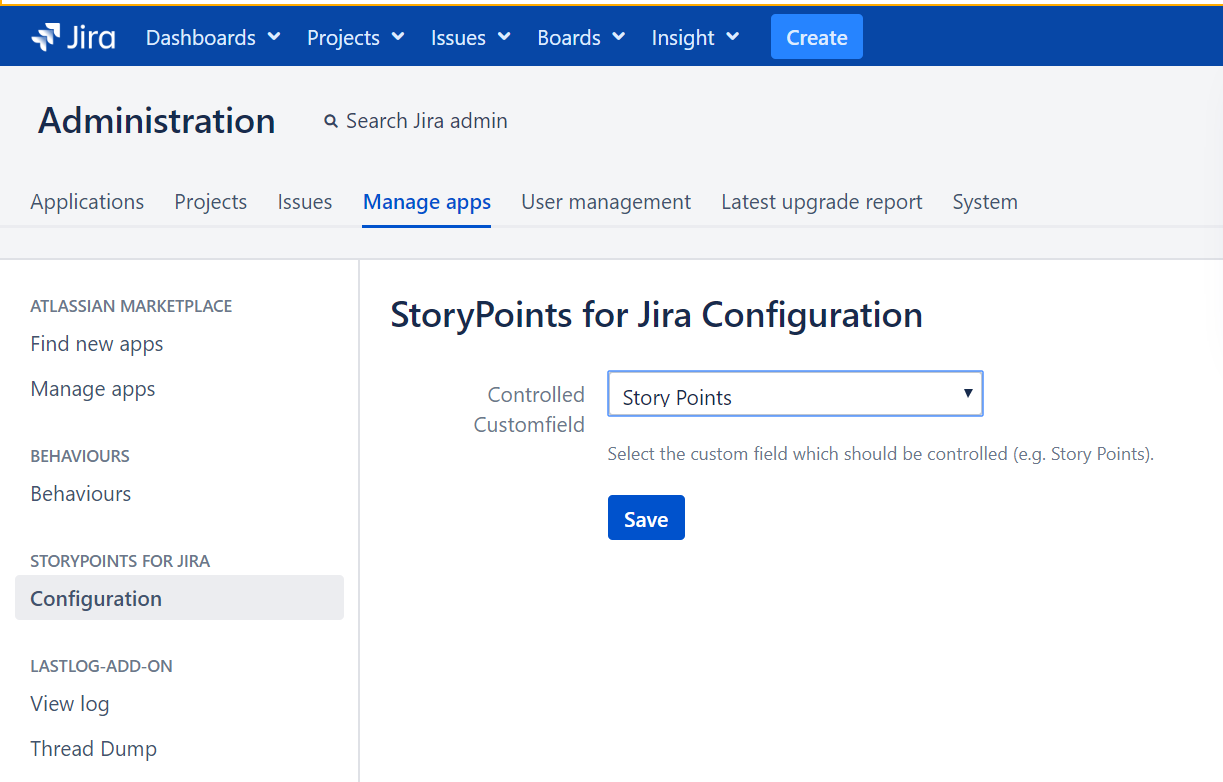
You need to select you existing Story Point Field from the list presented. The list shows only Numeric Custom Fields since only those fields can be used for estimation in Boards.
Click save and that's it.
Customfield Creation and Screens
To use the Story Points for Jira custom field wrapper, you first need to create a customfield from the included Custom Field Type “Story Points for Jira”.
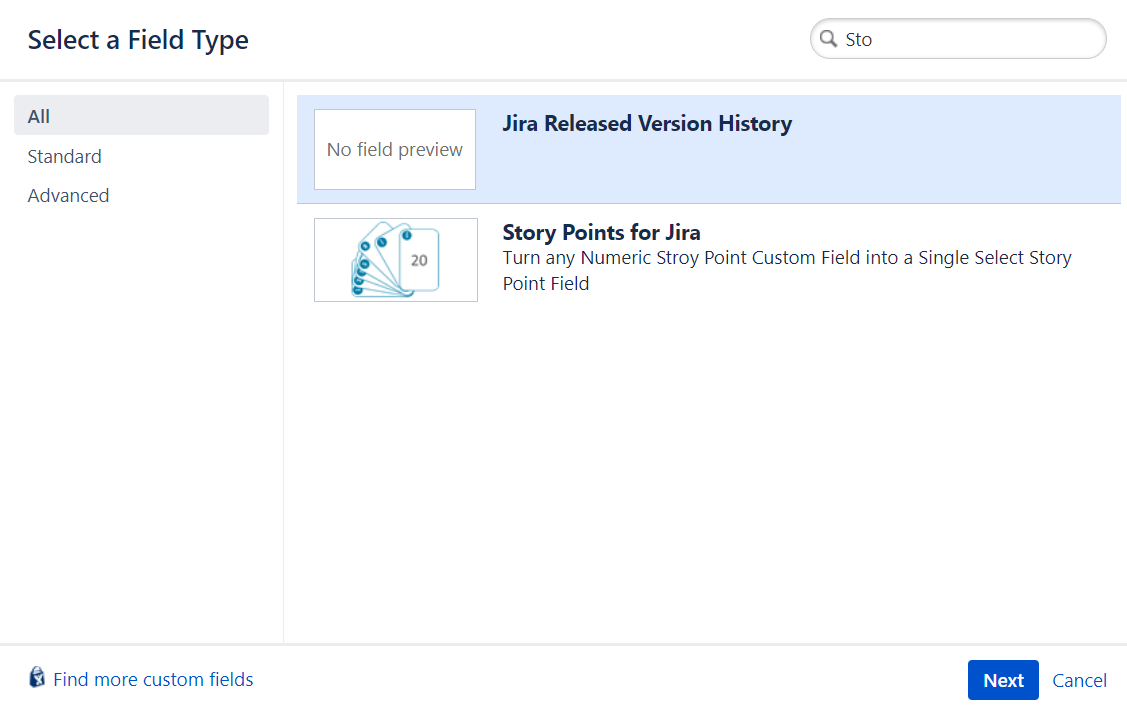
As Part of the creation process you need to enter option values
Option values must either be a simple Number so you can enter the fibonacci sequence here or any other values you like.
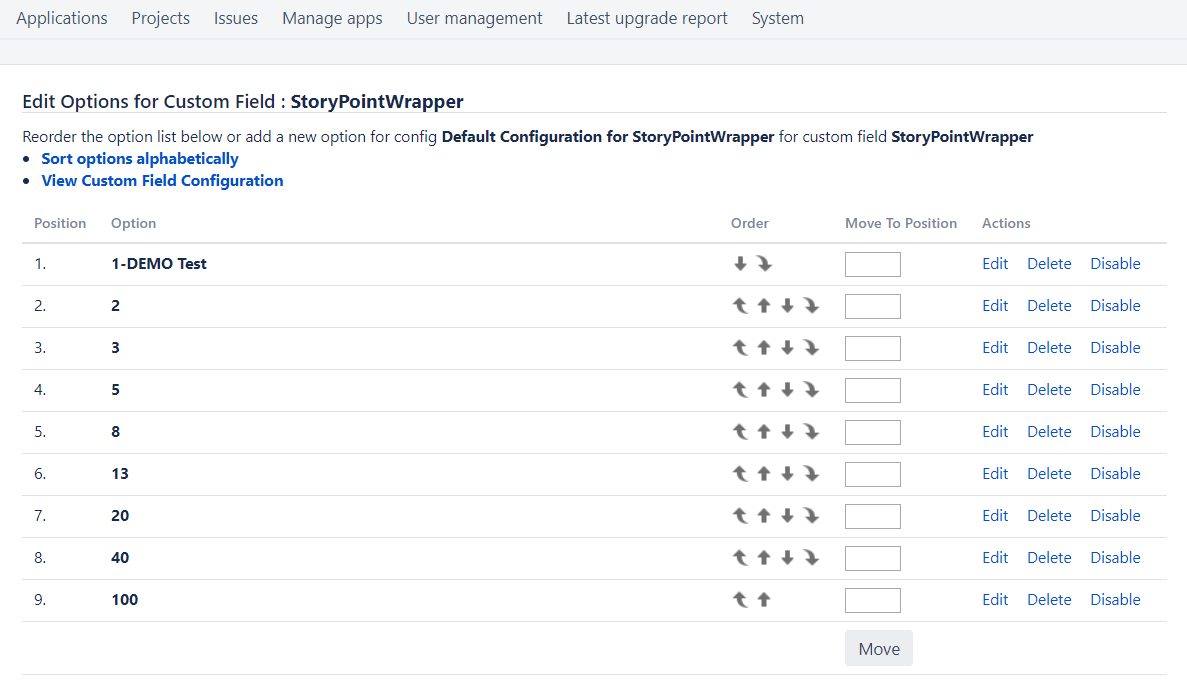
In addtion you can add any other option value as long as the options format starts with a Number value. You can add addtional text by
1-DEMO Test
2-Value Demo2
The App must be able to split the number value from the options since this number will be assigned to the story point field.
Custom Field Contexts
This App supports full Custom Field Contexts. So you sould be able to create different Options for different Projects/Teams.
After creation of the custom field you need to assign it to all Screens where you want to change the Story Point Field behavior.
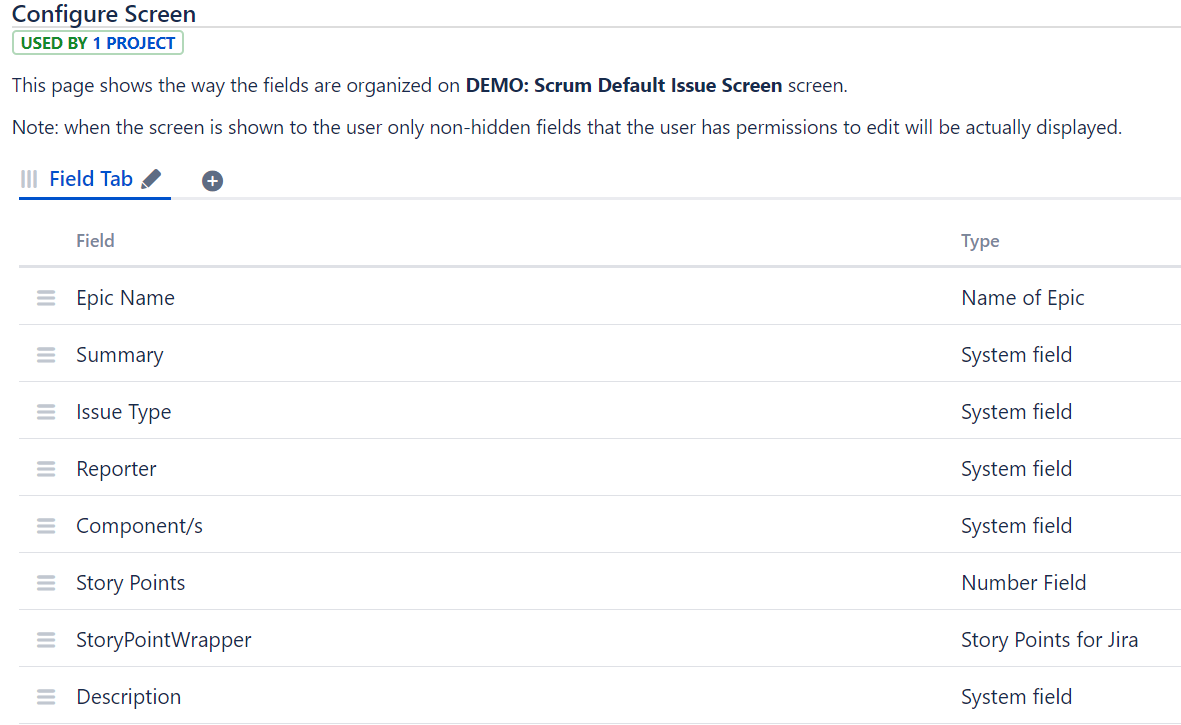
We recommend to put it on any screen where you are using your original Story Point Field. Accxia recommends to put the Wrapper field next to the original Stroy Point Field.
Never delete the original Story Point Field, it is still required !
The original Story Point Field must be on the screen
Adding the Wrapper to the Agile Boards
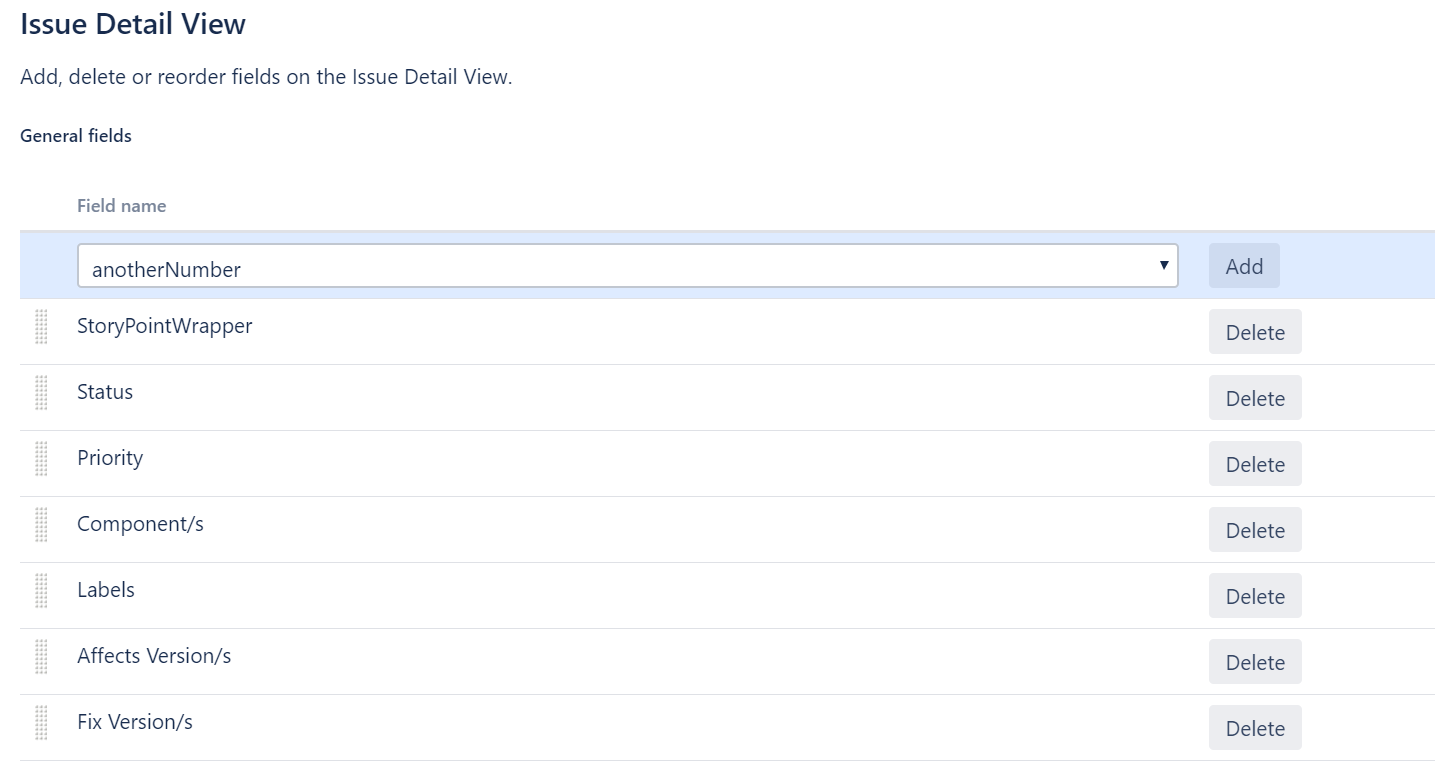
Remember that the Agile Board in fact is not a screen but behalfes like this. So you need to add the wrapper to the Board Columns in addition to the screens.
Go to Board Configuration =>Issue Detail View
Add the custom field wrapper, you created above to the Top.
Error Messages
This message shows up when no valid license is configured
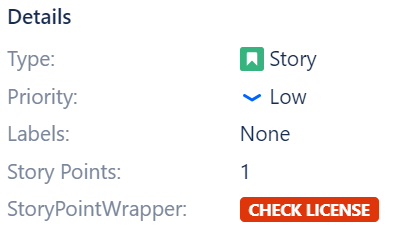
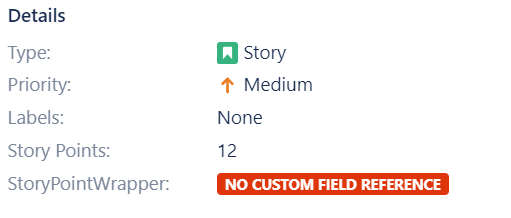
This Message shows up when no custom field reference has been configured
